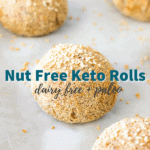
These Nut-Free Keto Rolls are inspired by the famous Diet Doctor keto bread, but almond flour-based baked foods don’t always work for me, so I made a nut-free keto bread and NAILED it! Chewy, light, and authentically flavored sandwich bread high in fiber.
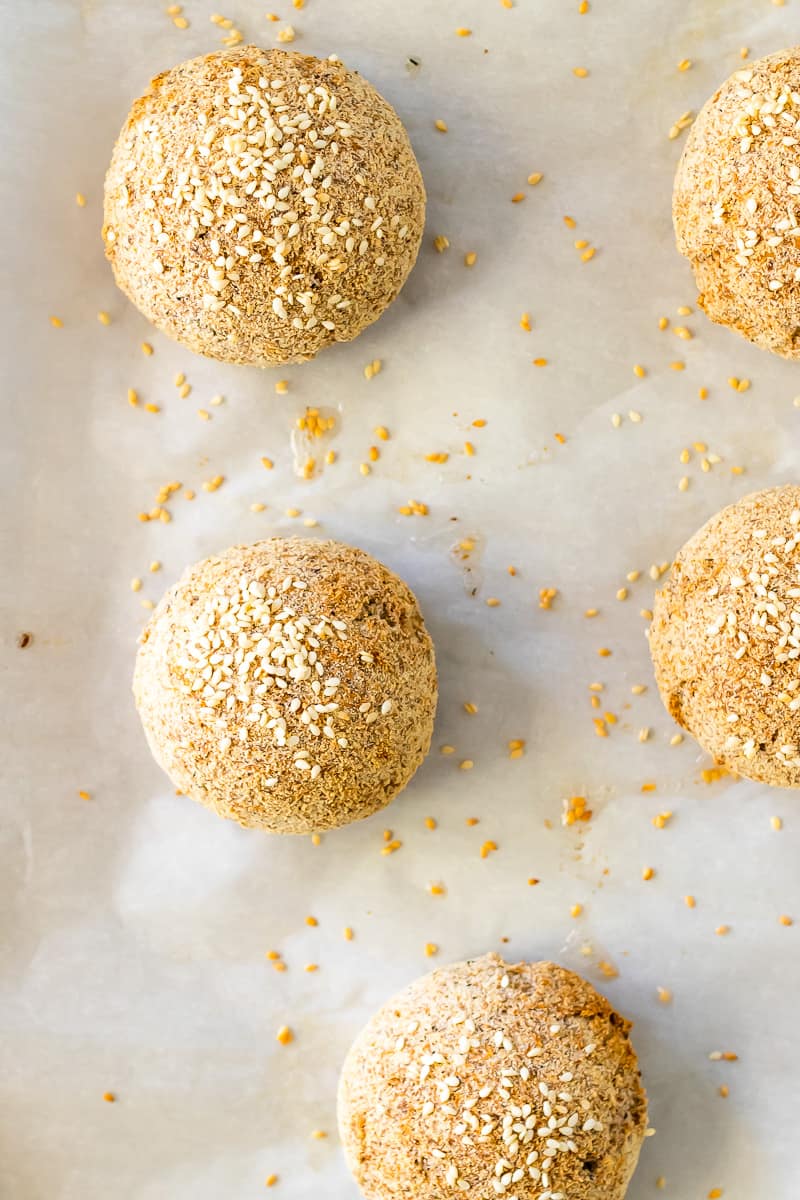
Why These Rolls Rock
Sometimes all you want is a warm piece of toasted bread- when dealing with food triggers and specialty diets that can be hard to come by in a way that feels good. These Nut free keto rolls really hit the spot. The secret to these rolls? Psyllium husk. It’s loaded with fiber, making each roll only 3g net carbs and completely gluten-free! Also- make them once and you’ve got a reliable roll and/or bread option for about a week! Use as a sandwich bread, dinner roll, or any other way you can imagine enjoying this classic roll recipe. Wanna get extra fancy? Whip up my dairy-free, keto romesco with a warm roll and your preferred protein.
Grab Your Ingredients
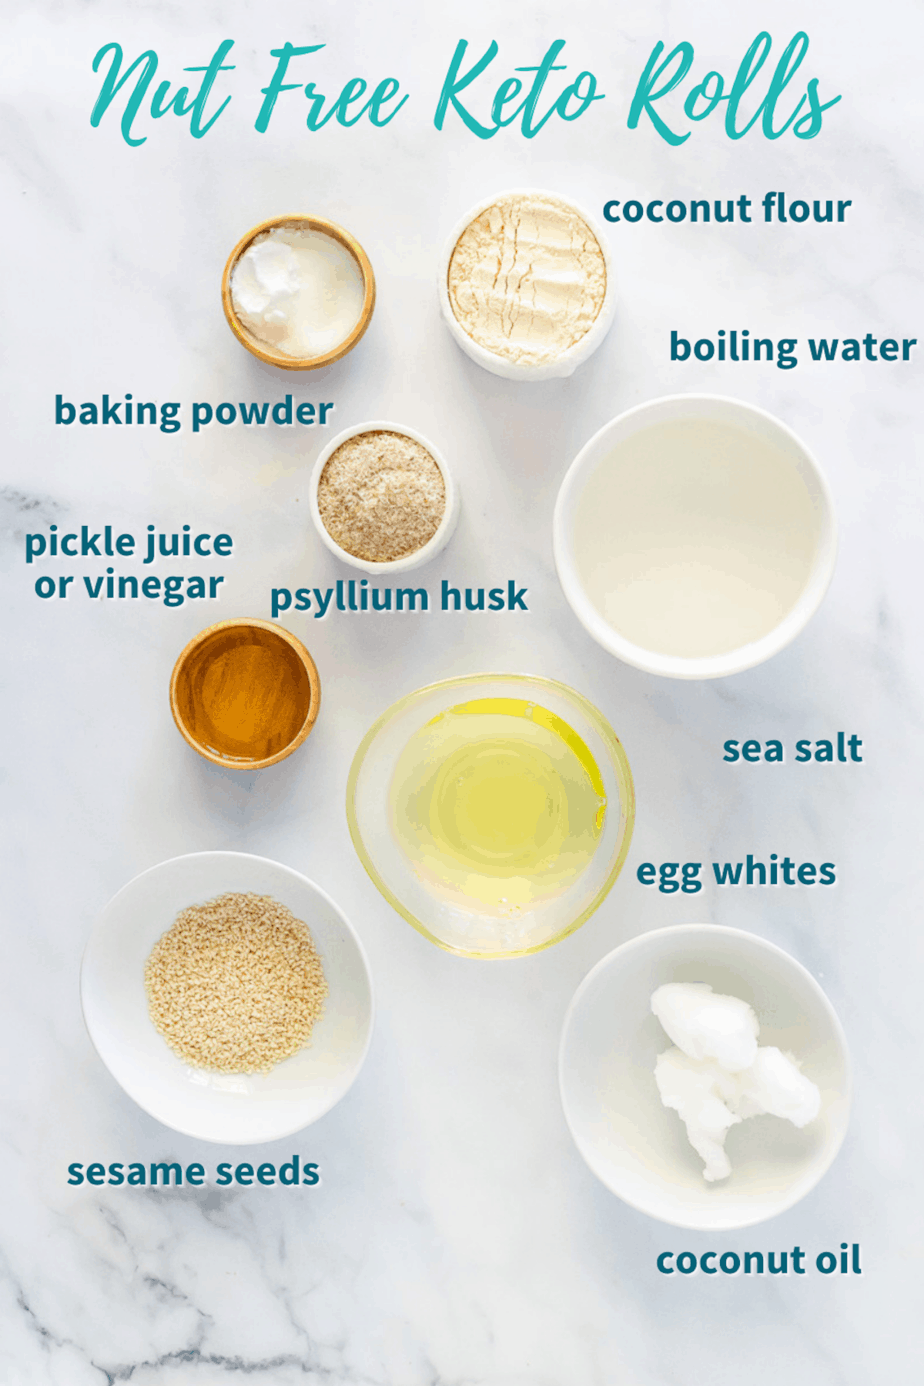
- Coconut flour: a great nut-free, gluten free flour alternative. Coconut flour can be an adjustment to work with; it absorbs more liquid than almond flour or regular flour, so be sure to follow the measurements to a T.
- Psyllium husk: fiber, fiber, FIBER! Psyllium husk is a great low carb option that helps bind baked goods together and help them rise, without gluten. It’s REALLY HIGH IN FIBER. ALL fiber actually! So calm down when you see the carb count. Either way, this kind of thing isn’t meant to be eaten all the time. I bet it will help move things along if you know what I mean (insert poop emoji here).
- Pickle juice: trust me on this — pickle juice adds such a great sandwich flavor to these Nut Free Keto Rolls. You can use vinegar, but I love the pickle flavor. It’s subtle and REALLY drives home the bread … er, sandwich flavor!
- Sesame seeds: these are optional, but they add a nice crunch and flavor that is so traditional for sandwich rolls.
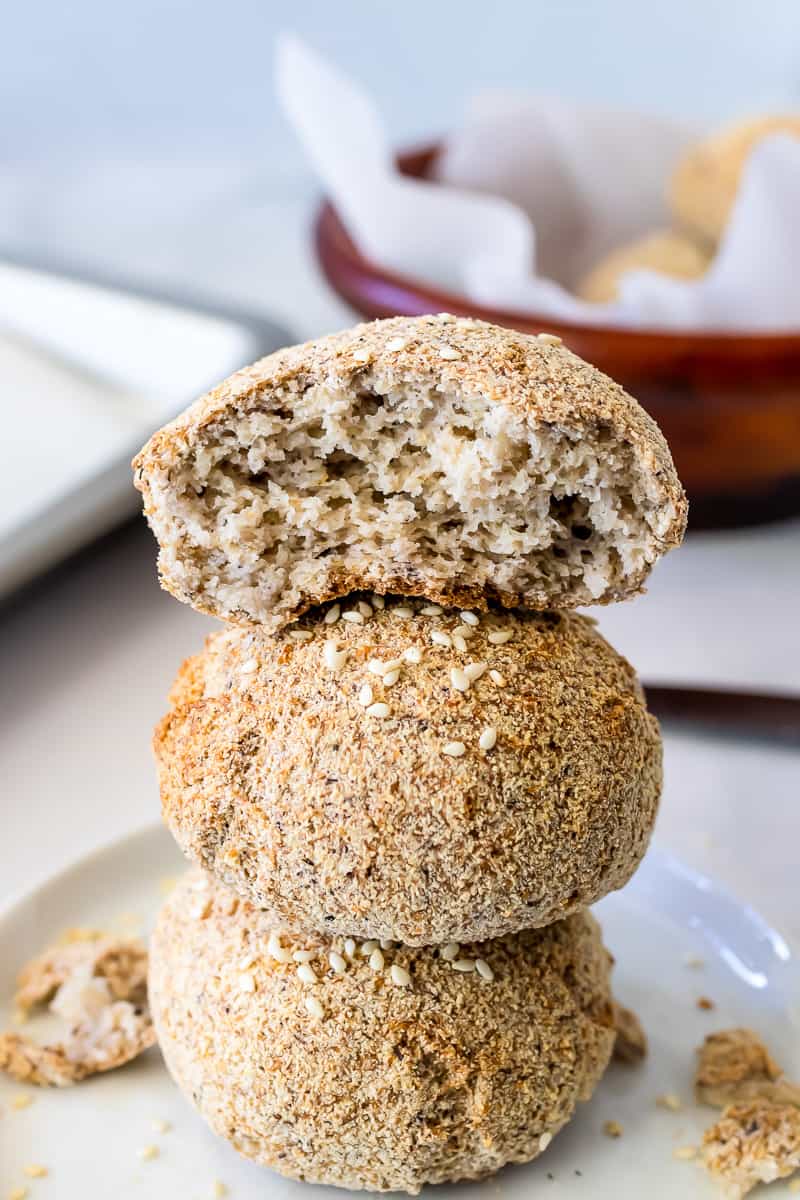
Step by Step Instructions
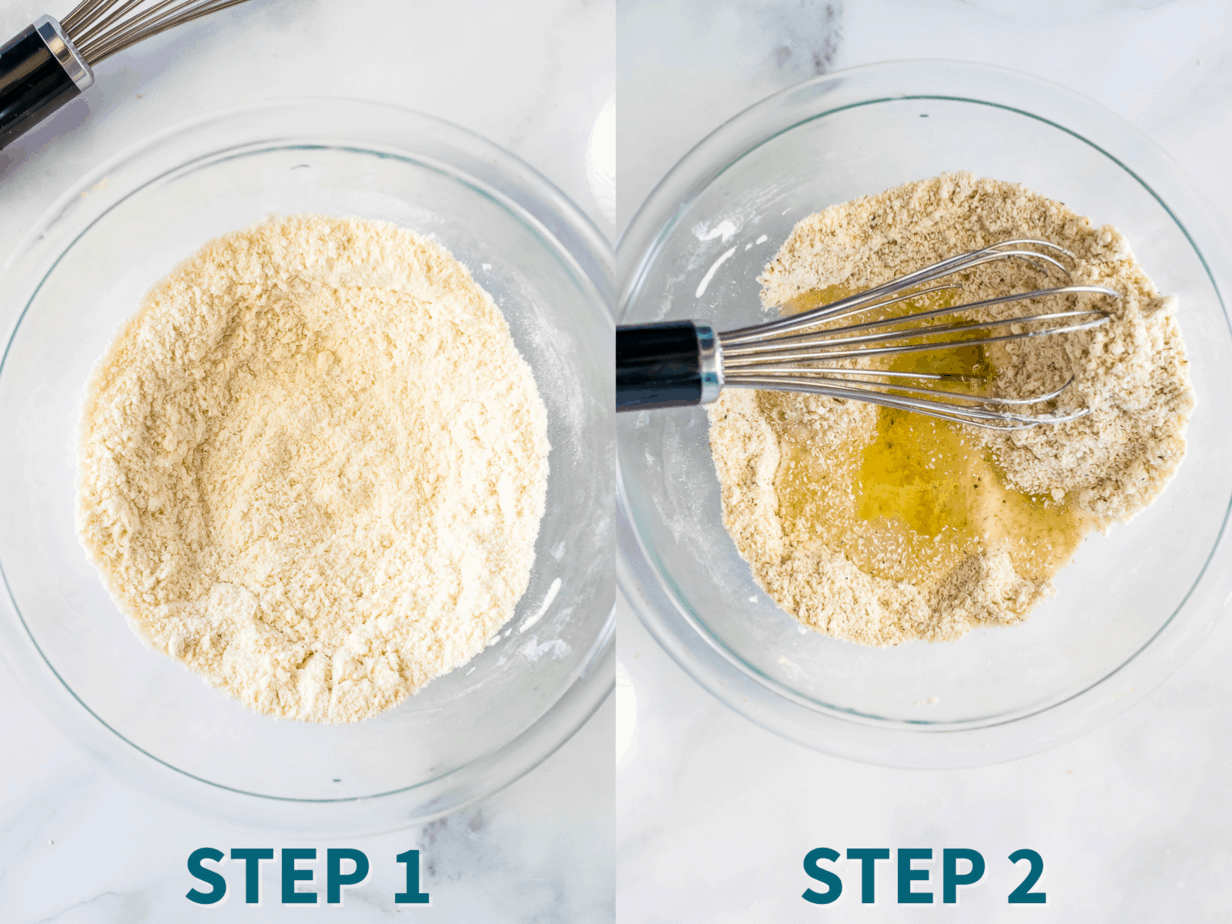
- Preheat your oven to 350°F (convection) or 375°F (bake). Sift together the coconut flour, salt, and baking powder into a large bowl. Then, add in the psyllium husk and whisk to combine.
- Add the egg whites and pickle juice to the flour. Quickly whisk them in to combine.
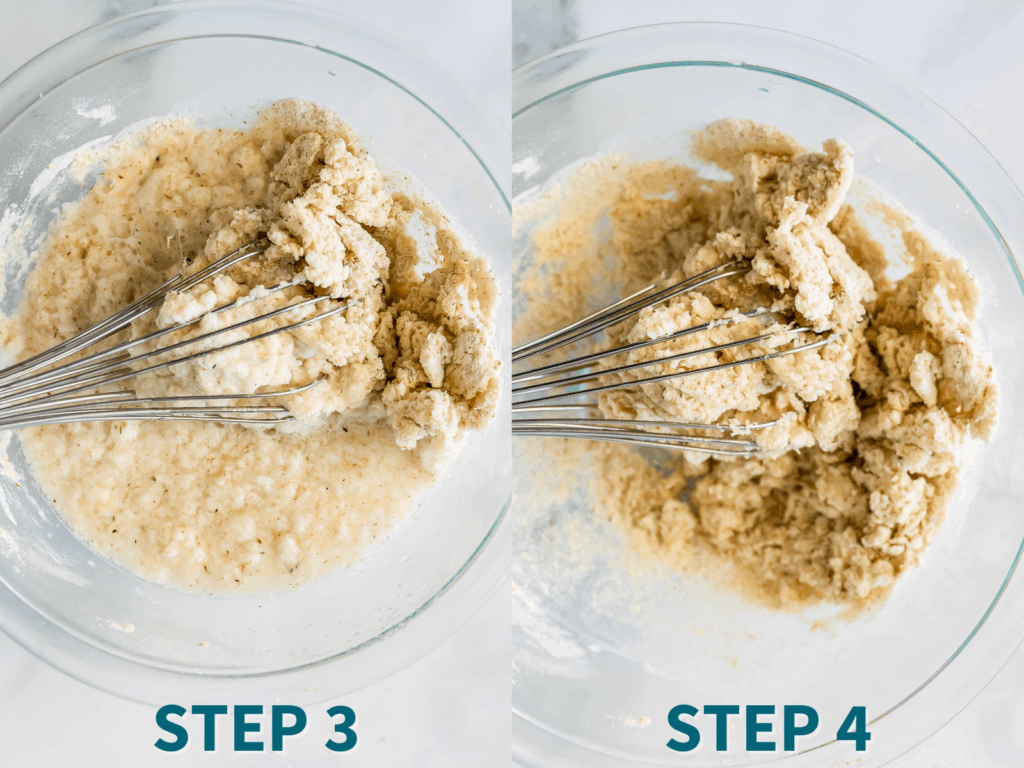
- Pour in all of the boiling water
- Whisk together quickly until a lumpy almost curdled looking dough forms.
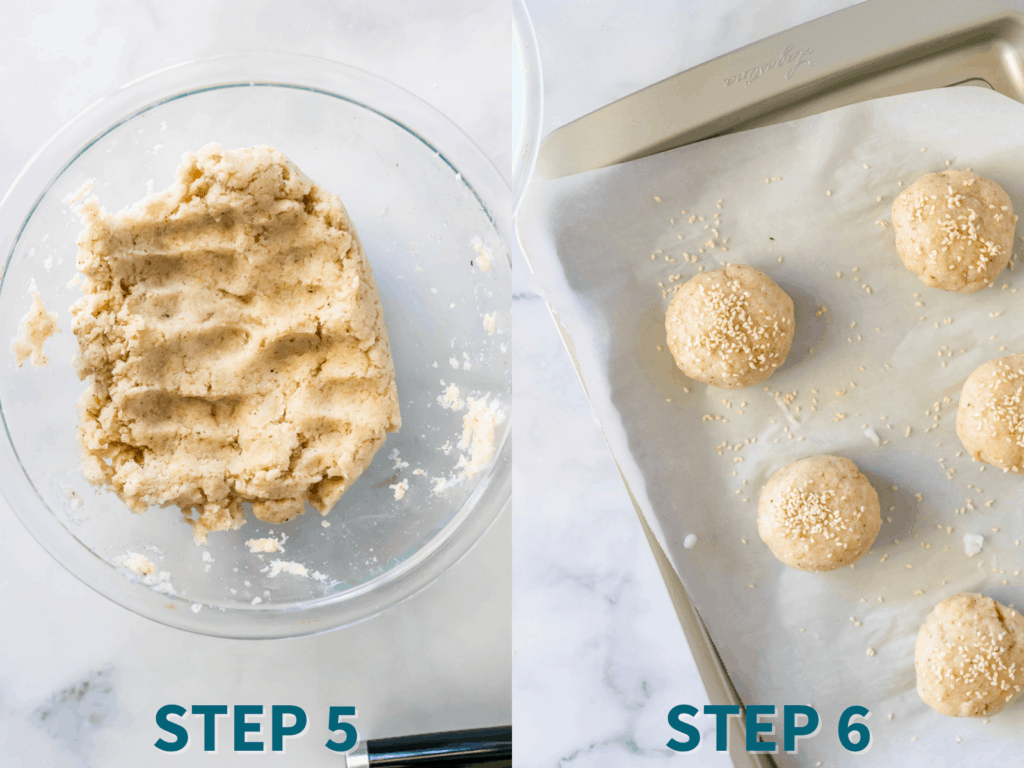
- Switch to a spatula to fold the dough a few times and smooth it out, so it’s like playdough. You can also use your hands.
- Line a sheet pan with parchment paper. Use a large scoop to make 5 buns, scooping them onto the parchment paper, or just use your hands to shape 5 small buns, about 1/3 cup each. Spray with coconut oil liberally or gently brush with coconut oil. Sprinkle sesame seeds on top.
- Bake your Nut-Free Keto Rolls for 60-70 minutes on the bottom rack, until browned on the outside and very firm and puffy. Remove from the oven and let them cool for 20 minutes or more before handling.

Recipe Tips
- Baking the rolls: check the rolls by tapping on them, they should should sound hollow, that’s how you know they’re done baking. Your cooking time may vary slightly depending on your oven, you can always crack one of the Nut Free Keto Rolls open to check before pulling them all out.
- Cooling: it’s super important to let the rolls cool for 20 minutes or more before handling so that they can finish cooking inside while they cool. If you open them too soon, they will be a little gooey in the middle.
- Swap the toppings: feel free to use poppy seeds, everything but the bagel seasoning, or minced dried garlic flakes as the topping.
- Storage: store your Nut Free Keto Rolls in an airtight container in the fridge for up to a week.
- Reheating: toast leftovers till warm. Use as a sandwich bread, dinner roll, or any other way you can imagine enjoying this classic roll recipe.

Frequently Asked Questions
Make sure you’re psyllium husk is fresh and your baking powder isn’t expired. Also, be sure you’re baking it at the correct temperature 350F CONVECTION or 375F BAKE!
Yes, this recipe is a nut-free version of an almond meal bread that was formulated by Maria Emmerich and shared on DietDoctor.com, you can find that recipe HERE.
That’s because your psyllium husk was old.
In my oven it’s 50-60 minutes. But you know they’re ready when they are puffed up and brown and sound hollow when you tap on them.
Other Recipes You Might Enjoy
- Pork Apple Meatballs and Apple Cabbage Slaw -Gluten-free
- Gluten free Zucchini and Mushroom Stuffed Squash with Pecan and Chickpea Crumble
- Nightshade Free Cabbage Rolls
- Paleo Matcha Almond Butter Cookies
- Fall Kale Salad with Crispy Tofu (Gluten-free, Vegan)
- Quick and Easy Orange Vegetables and Sausage One-Sheet Pan
Looking for more free recipes?
Subscribe to my newsletter and follow along on Instagram, Facebook, YouTube, and Pinterest for all of the latest updates.
Nut Free Keto Rolls
- Prep Time: 10 minuts
- Cook Time: 70 minutes
- Total Time: 0 hours
- Yield: 5 rolls 1x
- Category: Side
- Method: Bake
- Cuisine: Bread
- Diet: Gluten Free
Description
Low carb, nut free, super delicious bread rolls!
Ingredients
- 1/2 cup coconut flour
- 6 tablespoons psyllium husk whole or 5 tablespoons of the powder
- 2 teaspoons baking powder (grain free)
- 1 teaspoon fine salt
- 2 teaspoons pickle juice (or vinegar)
- 3 large egg whites, whisked
- 1 cup boiling water
- 3 tablespoons coconut oil (or coconut oil spray)
- Sesame seeds (optional)
Instructions
- Preheat oven to 350°F for convection and 375°F for bake.
- Sift together coconut flour, salt, and baking powder into a large bowl. Add in the psyllium husk and whisk to combine.
- Add the egg whites and pickle juice to the flour and quickly whisk in.
- Pour in all of the boiling water. Whisk together quickly until a lumpy, almost curdled looking dough forms.
- Switch to a spatula or use your hands to fold it a few times and smooth it out, so it’s like playdough.
- Line a sheet pan with parchment paper. Use a large scoop to make 5 buns, scooping them onto the parchment paper, or just use your hands to shape 5 small buns, about 1/3 cup each.
- Spray with coconut oil liberally or gently brush with coconut oil. Sprinkle sesame seeds on top, or poppy seeds etc.
- Bake for 60-70 minutes on the bottom rack, until browned on the outside and very firm and puffy — the buns should sound hollow if you tap on them. Cooking time may vary slightly depending on your oven, you can always crack one bun open to check before pulling them all out.
- Remove from the oven and let the rolls cool for 20 minutes or more before handling. This is important because the rolls will finish cooking inside while they cool. If you open them too soon, they will be a little gooey in the middle.
Recipe Notes:
- Baking the rolls: check the rolls by tapping on them, they should should sound hollow, that’s how you know they’re done baking. Your cooking time may vary slightly depending on your oven, you can always crack one bun open to check before pulling them all out.
- Cooling: it’s super important to let the rolls cool for 20 minutes or more before handling so that they can finish cooking inside while they cool. If you open them too soon, they will be a little gooey in the middle.
- Swap the toppings: feel free to use poppy seeds, everything but the bagel seasoning, or minced dried garlic flakes as the topping.
- Storage: store in an airtight container in the fridge for up to a week.
- Reheating: toast leftovers till warm. Use as a sandwich bread, dinner roll, or any other way you can imagine enjoying this classic roll recipe.
- This recipe inspired by Maria Emmerich. Find that recipe HERE.
Nutrition
- Serving Size: 1 bun
- Calories: 119
- Fat: 4.4g
- Carbohydrates: 11.8g
- Fiber: 8.8g
- Protein: 3.8g

Phyllis says
Can I use cocoa powder in these if so how much
Cristina Curp, FNTP says
These are savory, I wouldn’t add cocoa powder. I haven’t tried to sweeten them.
Leslie says
Wow, these are WONDERFUL! I can’t believe they’re base is coconut flour and psyllium! They remind me of rolls made at one of my favorite restaurants but better because they’re not as tough.
Given my oven, I had to turn the heat down some and take them out at about 40 minutes. Next time I’ll also put them one shelf up from the bottom. These will be a regular!!
Christie says
Can I use egg whites from a carton? Or would that change the texture? Also, can I freeze them?
Cristina Curp, FNTP says
I dont use those so I can’t say
Christie says
Can I use egg whites from a carton? Or would that change the texture?
Cristina Curp, FNTP says
I never use those so I can’t say.
Tania says
For some reason they were rising beautifully and then they started deflating while baking. Should I try with less baking powder?
Cristina Curp, FNTP says
The baking powder combined with the vinegar is what causes the chemical reaction that helps these rise. Was your psyllium husk fresh? Sometimes it can be old and cause funky results. If you have a gas oven and the temp isnt stable that can cause them to deflate.
Tania says
I actually only have an on the counter convection toaster oven. I’m wondering if that’s why they deflated. Thy tasted great though.
Duke says
made this many times, and they always turn on excellent.
Recently, I made them in a convection oven. Temp adjusted down 25 degrees. Same time. They puffed up larger than the oven, and were hollow. Cut back baking power by 50% same result. Completely removed baking power, still large puffs.
I’d really like to use my small convention oven, but don’t understand what’s going on.
Any suggestions would be most welcome.
Cristina says
I had to do a little digging and I found this great article on Bob’s Red Mill that might explain this… “Like anything in the kitchen, an oven with convection is better for some recipes, while it may not be the best choice for all recipes. With any recipes that require rising, such as cakes, bread or other baked goods, you may have strange results with a convection oven. The convection oven could accidentally cook the outside of the dish before the dough is through rising, which can cause strange textures and lopsided batters (no one likes a bumpy cake!). We definitely recommend using a conventional oven for any recipes that require rising, as you do not want to cook the outside before the inside is finished leavening. The convection can also dry out the inside of these recipes, such as bread, cake, soufflé, flan, or other baked goods so you want to steer clear of that setting if you want your final product to be nice and moist. Overall, the convection oven setting is a great choice if you want a crisp, quick, product, but if you want your dish to maintain moisture or rise before it is finished baking, then stick with the conventional oven.”
https://www.bobsredmill.com/blog/healthy-living/convection-oven-vs-regular-oven/
Ana Martins says
A M A Z I N G! Works like a charm, tastes better than bread, way better than any other keto recipes I’ve tried.
Cristina says
YEAYYYY!! thanks so much!
Kerri J says
I’m watching them bake right now and they’re not puffing up which I’m assuming these will be super dense when finished. Anyone know why this could’ve happened?
Cristina says
I hope they rose for you, baking them enough time is important for them to not be dense and fully cooked, and baking on the BOTTOM rack in the oven. other things to consider is making sure the baking powder you used wasnt expired.
Elizabeth says
Beautiful bread! And so easy to make ?
Cristina says
yeayy thank you so much
Aldana says
Loved this recipe!!! I will make it at once!!! If I don’t have arrowroot starch, can I only use Baking soda plus the cream of tartar?
Cristina says
it won’t work right without a starch, do you have regular baking powder around? or cassava flour? if you can tolerate it corn starch will work too